
Integrate with Salesforce
Permissions
In order to integrate Salesforce with Tofu, the user that will be authorizing the integration MUST have the following permission set. This can be created or edited by a Salesforce admin.
- Create/edit Permission Set
- Click Setup → Permission Sets.
- Click New or select an existing permission set.
- Name your permission set (e.g., “Tofu Integration Access”).
- Enable Uninstalled App Permission
- In the permission set, click System Permissions.
- Click Edit.
- Search for and select Approve Uninstalled Connected Apps.
- Click Save.
- Assign Permission Set
- Click Manage Assignments.
- Click Add Assignments.
- Select at least 1 user who needs Salesforce integration access.
- Click Assign.
The user assigned for the integration will also need the following permissions:
- Connect with Tofu through OAuth
- The user must have permission to authorize and integrate with OAuth-connected apps.
- View Lists and Reports
- Tofu can import lists or reports directly from Salesforce. This requires read access to both lists and reports.
- Read and Edit Access on Account, Contact, and Lead Objects
- Tofu retrieves data from these objects and may update them during exports. Read and edit permissions are required.
- Read and Edit Access on Custom Fields
- Tofu writes exported data into custom fields created for Tofu such as “tofu_body_1”, “tofu_body_2”, etc. The user must have read and edit access to these fields.
- View Setup and Configuration
- This permission enables Tofu to access the Salesforce Describe API, which provides metadata about objects and fields.
- Access to Required Fields for List and Report Imports
- To import a list or report from Salesforce into Tofu, the integration user must have access to all fields used in the report filters, as well as all fields being imported into Tofu.
- (Optional) Create Custom Fields
- Tofu can automatically create the custom fields it needs within Salesforce. If you prefer to create them manually, this permission is not required.
- If you do choose to manually create fields for Tofu, here is a list of fields we need.
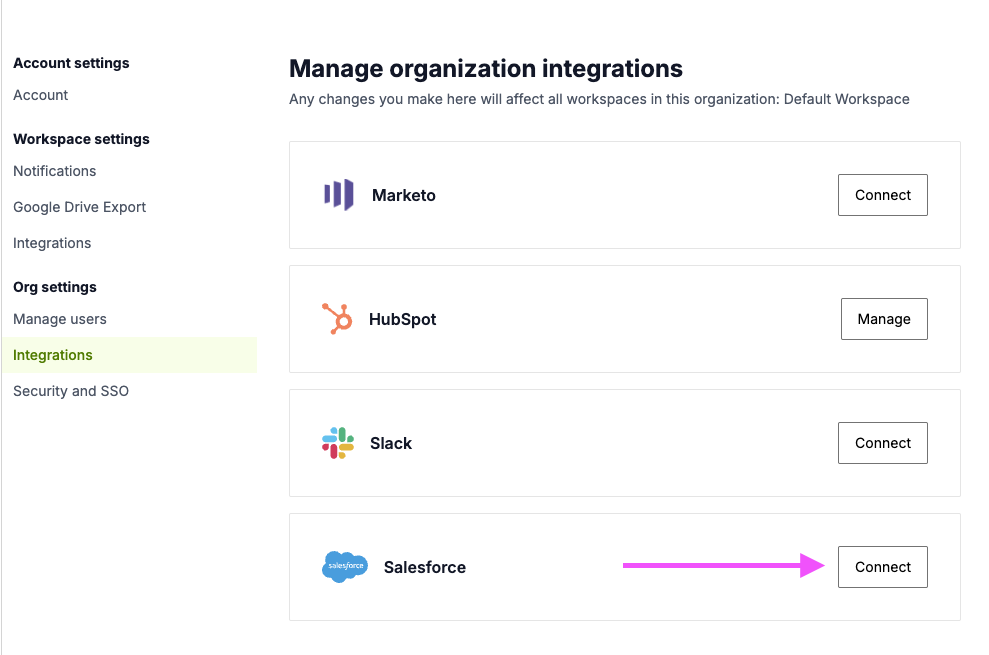
Connect Tofu with Salesforce
Once all of the above is completed, go to the org settings within Tofu (this link here) and follow the steps below to login to your Salesforce and complete the integration:
Click “Connect” to the right of Salesforce
Click “Connect” on the top right
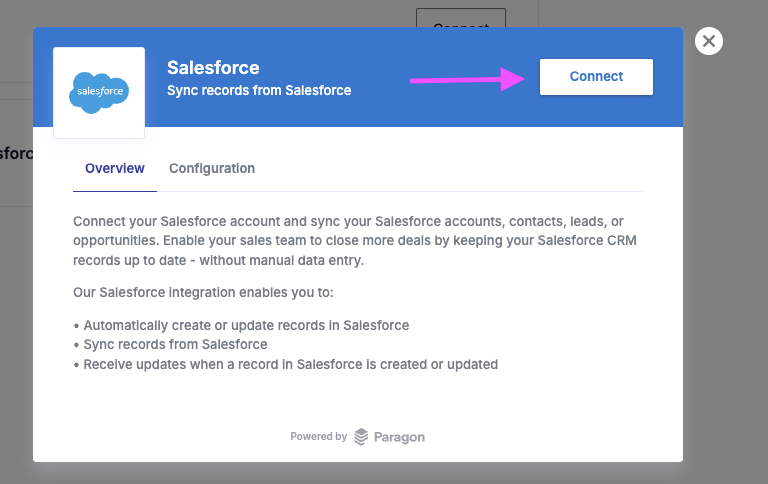
Choose “Salesforce Production Account” and log in

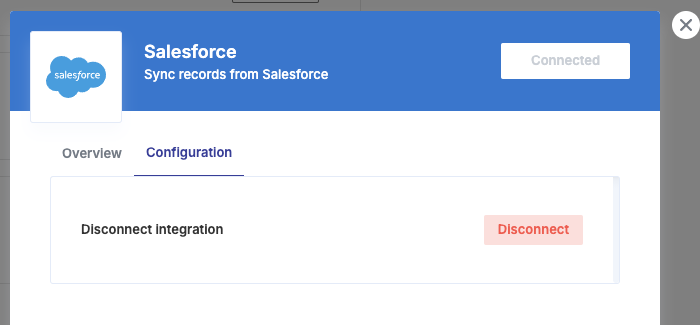
Once connected, you should see the screen below
Troubleshooting
If you see an error like
- “app must be installed into org” or
- “OAUTH_APP_BLOCKED” or
- “OAUTH_APPROVAL_ERROR_GENERIC”,
the Salesforce admin will need to install the Tofu connected app following the steps below
- In Setup → Connected Apps OAuth Usage, search for “Tofu”
- If it shows an Install button, the app is currently uninstalled → it must be installed.
- Click Install, review details, confirm install.
- Then configure access:
- go to Setup → Manage Connected Apps → Tofu → Edit → OAuth Policies → Permitted Users, choose All users may self-authorize
Create custom fields for Tofu in Salesforce
Tofu can automatically create the Salesforce custom fields it needs. To do this, follow the steps below:
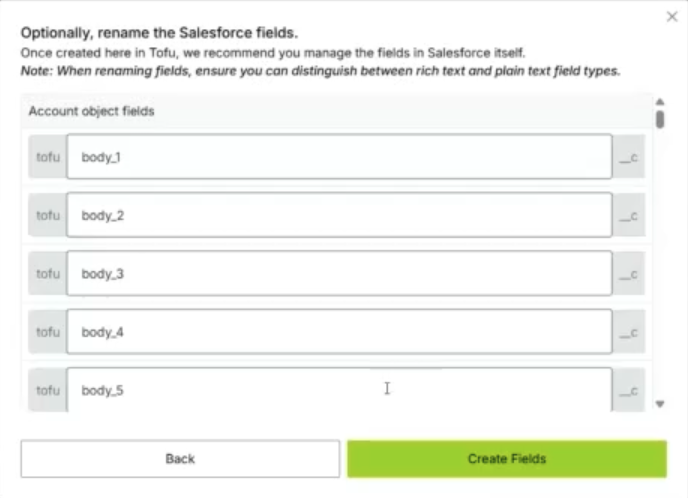
Go to Token Management → Mappings → Create Fields

The pop up (see below) will provide you with the number of fields needed on the account, lead, and contact objects for the email body, email subject, and URL for landing pages. You can add more if you’d like to start with more than the default. Click “next” to proceed.
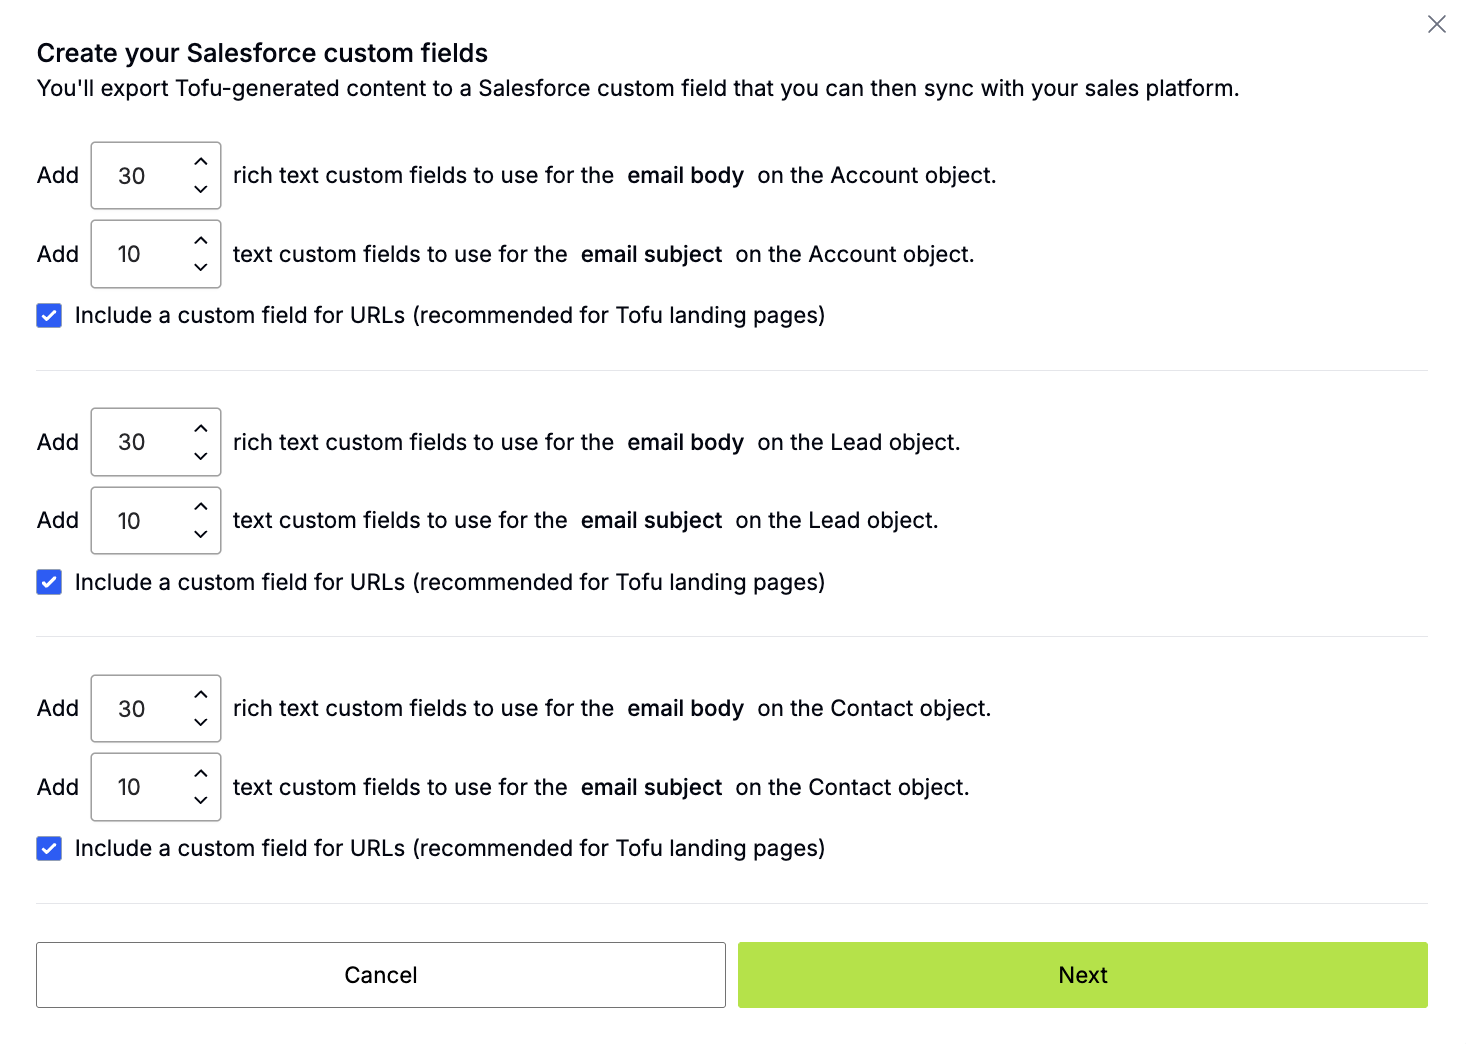
On the next screen, click “Create Fields”
Alternatively, you can also manually create fields for Tofu. Here is a list of fields needed for the integration.
Map Salesforce with Gong Engage
Once the custom fields for Tofu have been created in Salesforce, take the steps below to map these fields in Gong Engage.
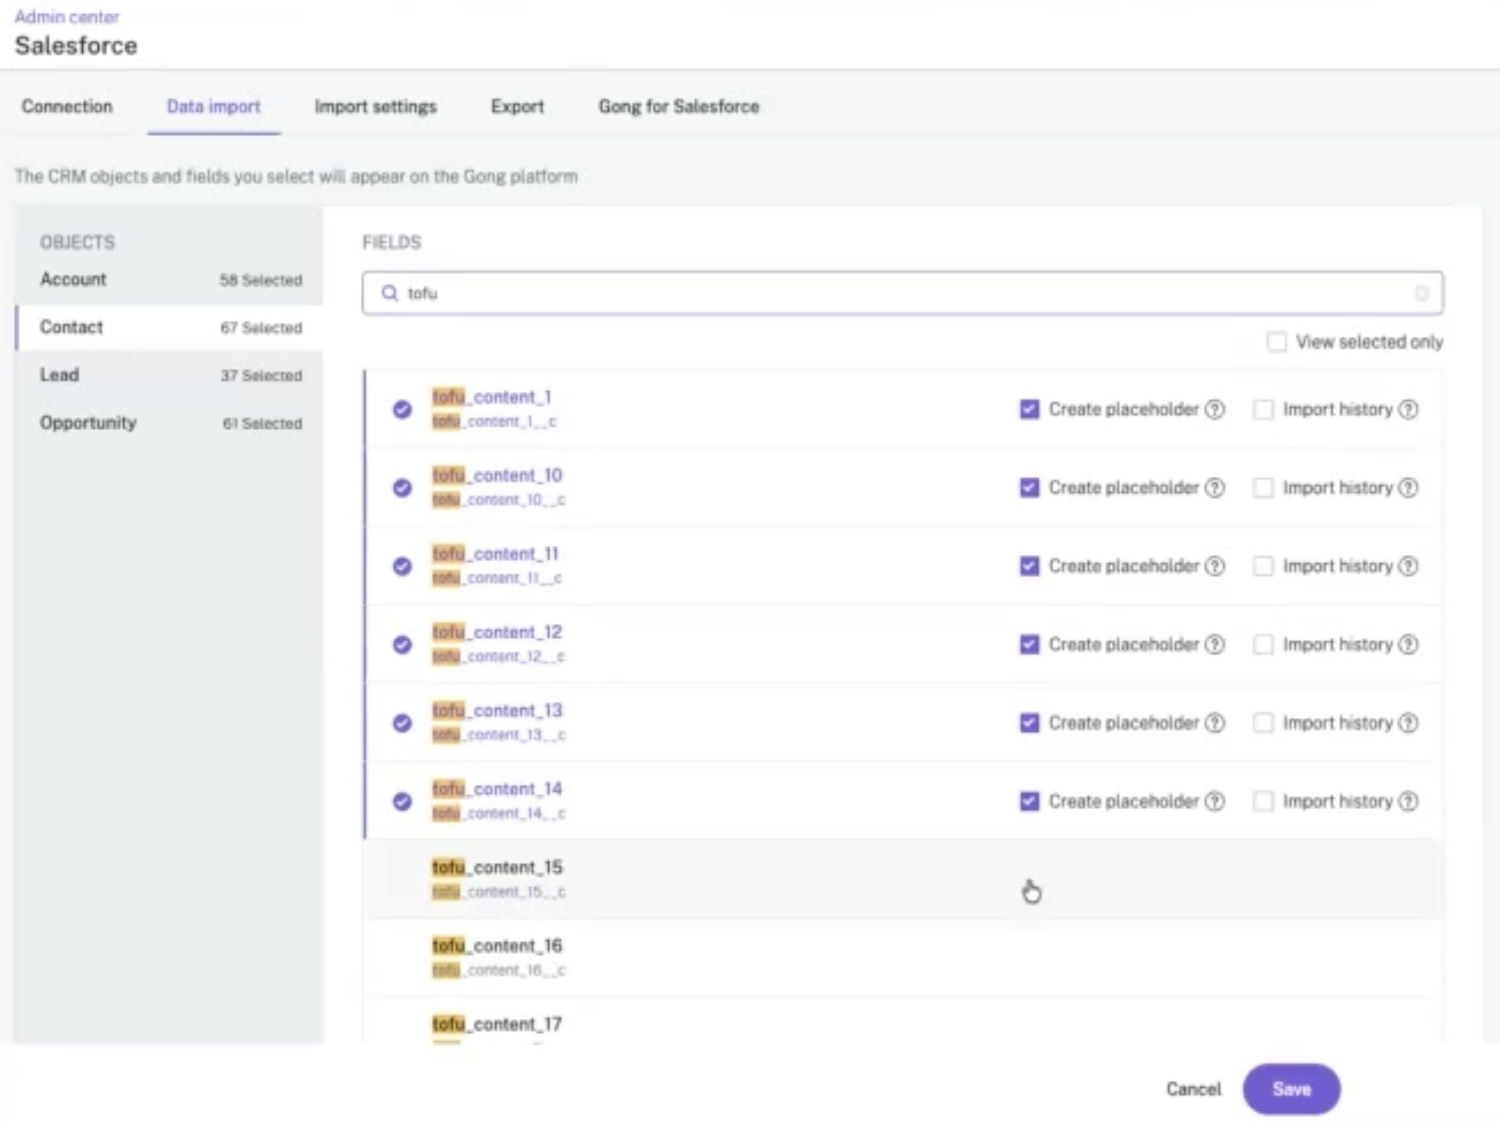
- In Gong, go to Admin center → CRM settings → Data import.
- Click into Account on the left hand side.
- Find the custom Tofu fields by scrolling or typing in the search bar.
- Select “Create placeholder” for each custom Tofu field.
- Select “Save”.
- Repeat steps 2 through 5 for Contact and Lead objects.
Complete mapping in Tofu
Once steps 1 and 2 have been completed, we need to finish the integration set-up by going into Tofu to mirror the mapping that was done between Salesforce and Gong Engage.
Otherwise, follow the steps below to complete:
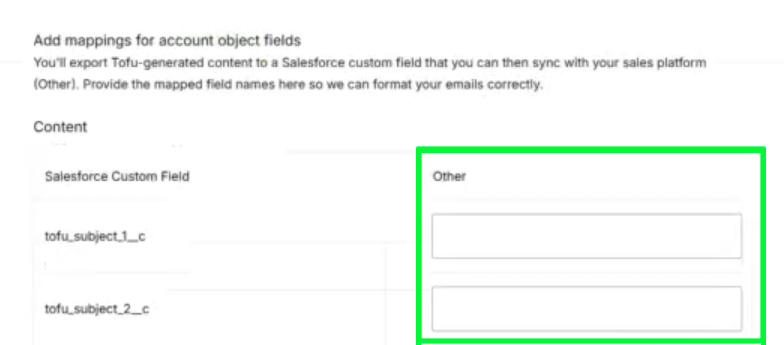
- Go to Token Management → Mappings → Choose “Other” for Platform → Sync Tofu Fields
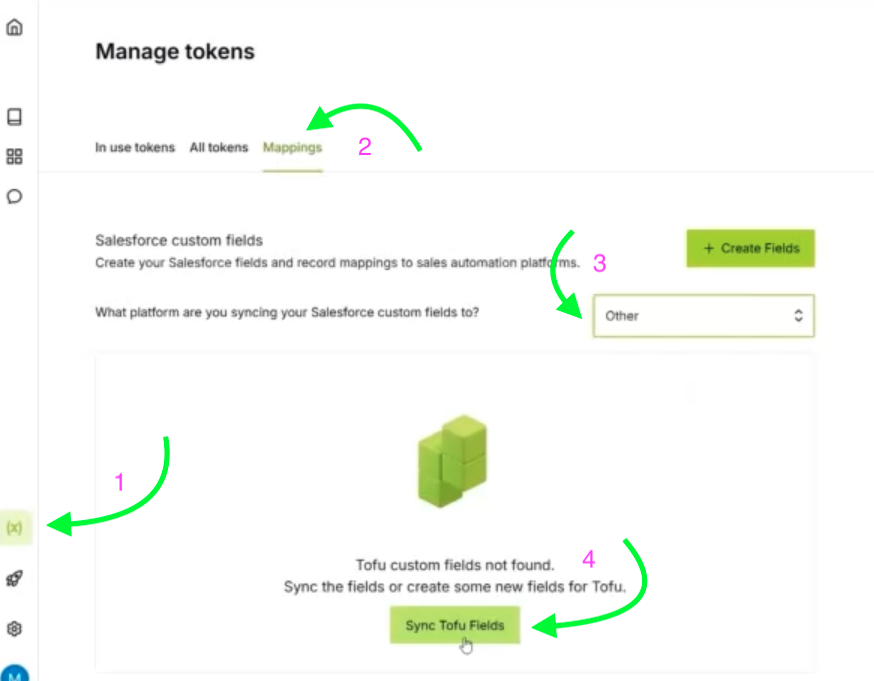
- Once the fields are sync’d, click Add Mappings for each Object
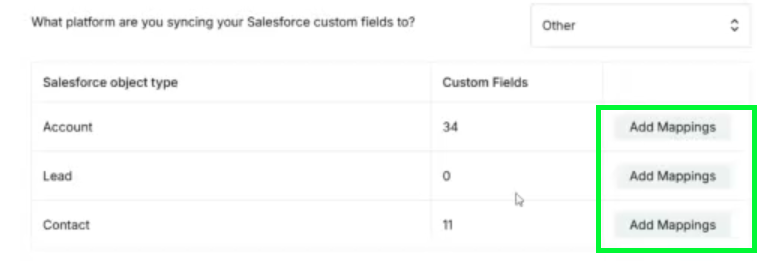
- For each Salesforce object type, add the corresponding custom Tofu field created in Gong Engage (Other column) to the custom Tofu field created in Salesforce (Salesforce Custom Field column).
Test emails before going live
Testing your Tofu-generated emails before sending them to prospects is critical—but Gong Engage doesn’t allow you to send test emails to fake inboxes or preview emails with merge fields populated. You need to actually send a test email to a real inbox.
Why you need a test record
Unlike other email tools, Gong Engage requires:
- A real email address that can receive messages
- An actual Salesforce record (Lead or Contact)
- The ability to send a live test email to validate personalization, special characters, and formatting
You cannot preview how merge fields will render without sending an actual email.
Set up testing in 3 steps
- Create a test record in Salesforce. Add a Lead or Contact with a real, working email address to your Salesforce instance.
Suggested test emails:
- Your own work/personal email
- support@tofuhq.com
- Build a test report or list. Create a Salesforce report that includes only your test record(s):
- Use report type: “Leads” or “Contacts & Accounts”
- Filter by company name (e.g., “Company equals Tofu”)
- Save as: “Tofu Gong Engage Test List”
- Make sure the report is in a shared/public folder so Tofu can access it
- Add the test list to your Tofu campaign. In your Tofu campaign setup:
- Go to Targets → Edit
- Add your test report/list as a second list alongside your main campaign list
- Export and send the test email through Gong Engage
- Review the test email for personalization accuracy, special characters in subject lines, and formatting
Remove test records before going live
Pro tip: Keep this test list handy and reuse it for every Gong Engage campaign you create with Tofu. It saves time and ensures consistent testing.
Need help? Contact your Tofu CSM or reach out to support@tofuhq.com.